
I need your hair.
Read the text that I shot to my sister on my train ride home from the city last Friday night. After attending the very first in the series of craft nights put on by Oh Happy Day and Bing.
What do craft nights have to do with hair you might ask?
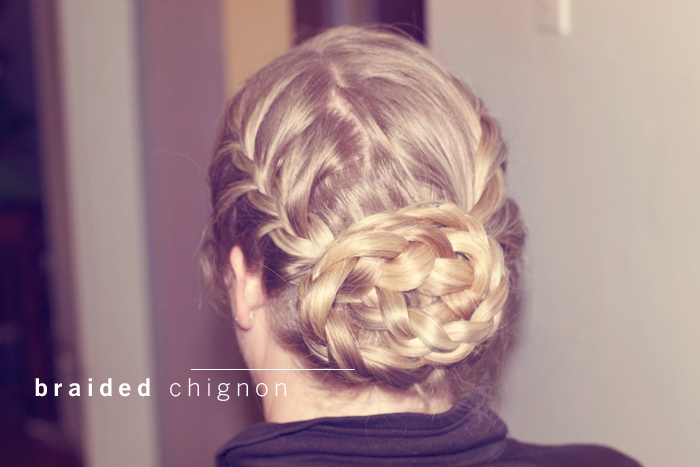
Well this was no ordinary craft night. This was a Braid bar.
A chance to learn from the oh so fabulous Rubi from She Let’s Her Hair Down about all things Chignon braid. Including Hairspray in brain cell killing proportions and bobbies that top all bobbies – and the proper way to use said bobbies.
I spritzed and braided and photographed with the glee of a third grader playing kick ball at recess. There was so much hair it was amazing! I was, of course, the only hair-less individual in the room, but I had such a fabulous time hanging out with new friends and creating with my hands. Just my hands. That I just had to do again.
Like, right then.
This brings us to the text. And the oh so happy, come on over, reply. Aren’t sisters the best!
And now, the tutorial.
– – –
// Before you begin use ample amounts of hairspray in multiple layers to give your hair some nice grit. //
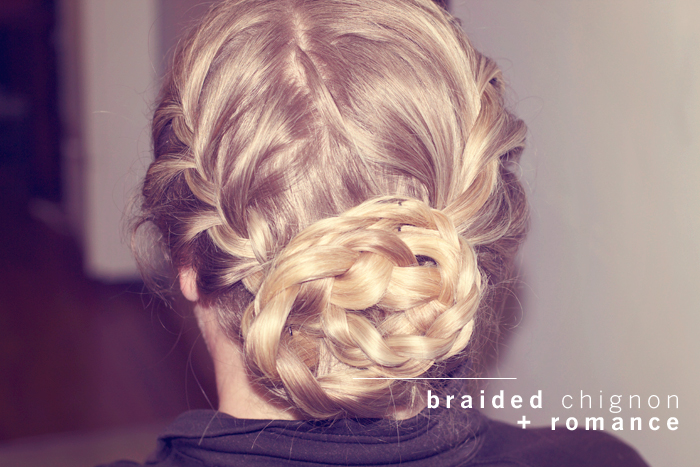
1. Part your hair on the side. You could braid it in the middle, but this will look so much more romantic and free flowing if it’s done to the side.
–Rubi’s suggestion. I’m just sayin’–
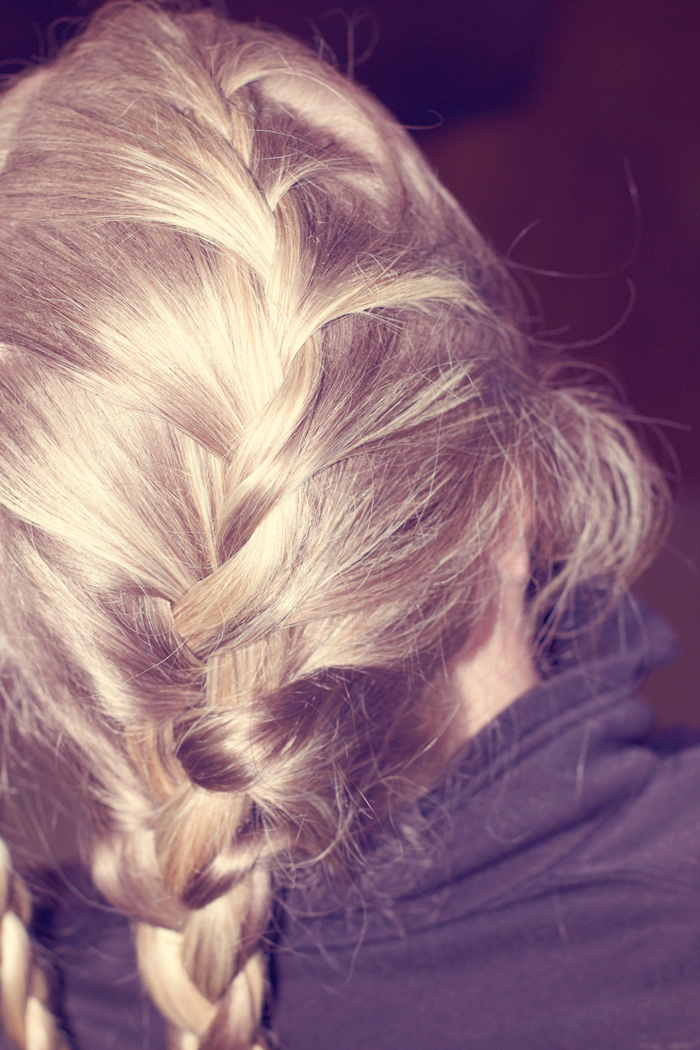
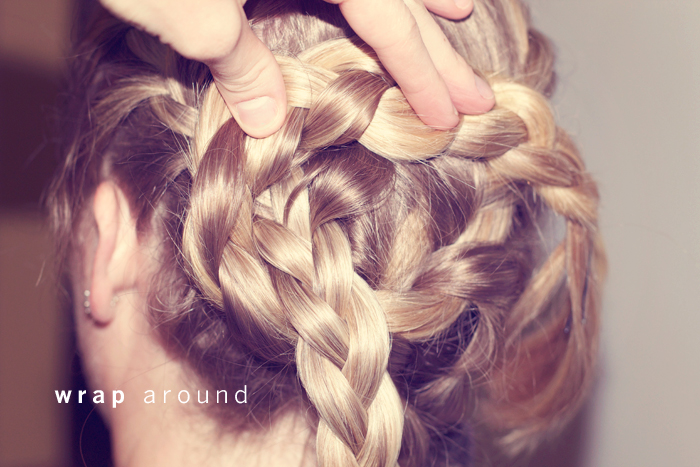
2. Start with a smallish section at the top and french braid the thicker side. If at all possible ‘wrap’ it toward the other side when you get toward the bottom. It’s no biggie if you can’t. Hold the braid with a bobbie.
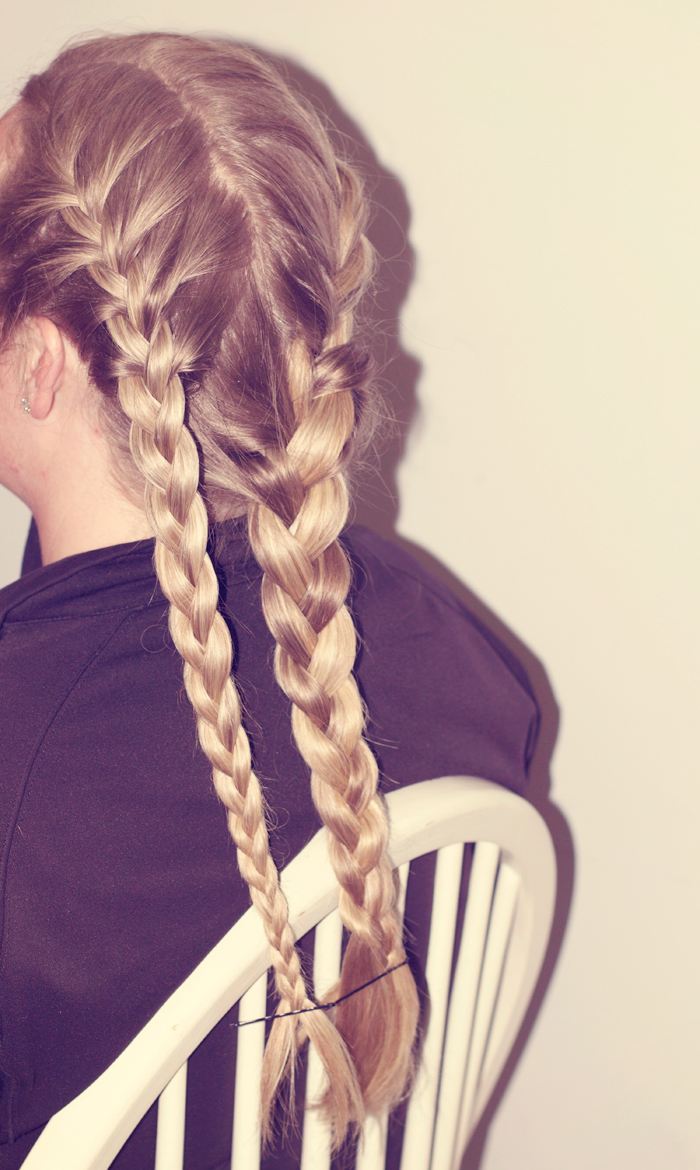
3. Move to the other side and again, start with a smallish section at the top and french braid all the way down. Hold it in place with a bobbie.
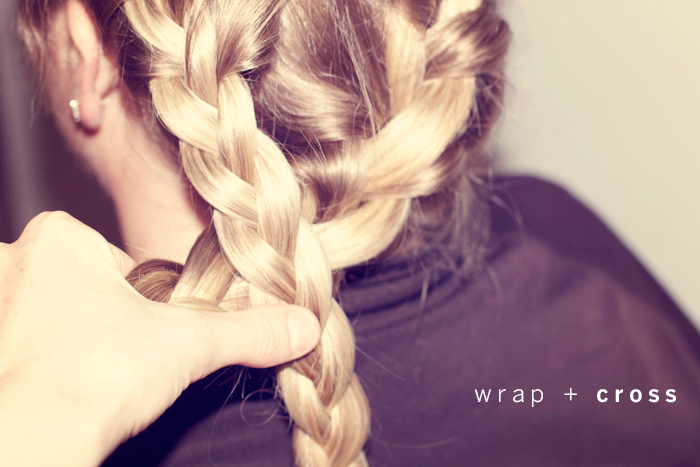
4. Take the bobbie off of the end. Cross the two braids and wrap/twist the thicker one. Use the bobbie to secure it in place*. Use extra bobbies to secure as needed.
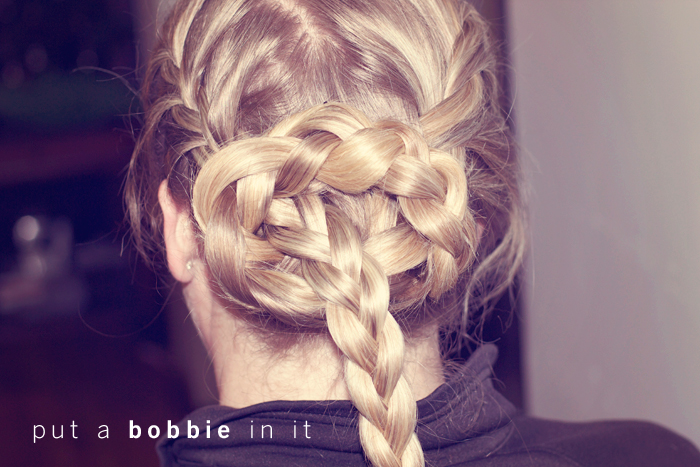
5. Grab the other braid, remove the bobbie and twist/wrap the hair into/under and around the other braid. Use the bobbies to secure it.
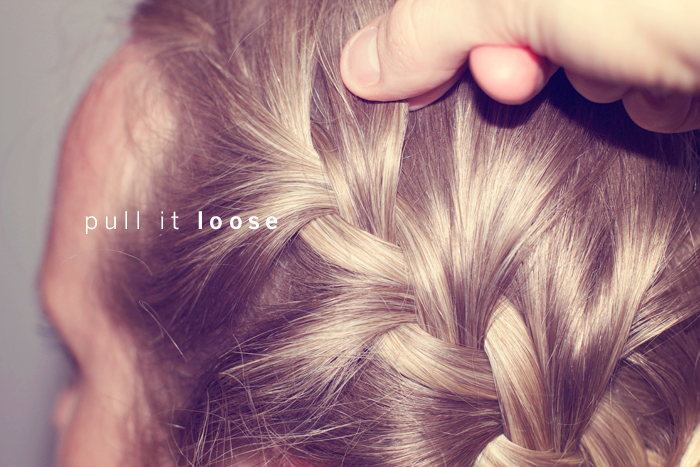
And the finishing touch.
6. Pull a little on the base of the braids to loosen them up a bit. This will loosen up the hair and really amp up the romantic look.
*Rubi’s note on the proper use of a bobbie – decide where you want it to be. Then use the bobbie to pick up a bit of hair from that spot, tuck the bobbie in so only the very end is peaking out. Viola! Instantly hidden bobbie and a more secure hold. Use as many bobbies as you need to keep it looking loose but feeling secure.
Enjoy!
xoxo
– – –
Hair model – Christy
Recap:
// Before you begin use ample amounts of hairspray in multiple layers to give your hair some nice grit. //
1. Part your hair on the side. You could braid it in the middle, but this will look so much more romantic and free flowing if it’s done to the side.
–Rubi’s suggestion. I’m just sayin’–
2. Start with a smallish section at the top and french braid the thicker side. If at all possible ‘wrap’ it toward the other side when you get toward the bottom. It’s no biggie if you can’t. Hold the braid with a bobbie.
3. Move to the other side and again, start with a smallish section at the top and french braid all the way down. Hold it in place with a bobbie.
4. Take the bobbie off of the end. Cross the two braids and wrap/twist the thicker one. Use the bobbie to secure it in place*. Use extra bobbies to secure as needed.
5. Grab the other braid, remove the bobbie and twist/wrap the hair into/under and around the other braid. Use the bobbies to secure it.
And the finishing touch.
6. Pull a little on the base of the braids to loosen them up a bit. This will loosen up the hair and really amp up the romantic look.